
Well, this tutorial has been a long time coming! Hope you all enjoy! I tried to take lots of pictures, but if anything is unclear, just let me know!
Things to know:
- This tutorial will be for a 12" zipper, but I will give you some dimensions and tips at the end to make other sizes.
- This tutorial is specifically designed for metal zippers. You CAN make the bag with a nylon zipper and it will work just fine. Since you can sew over nylon zippers, the zipper can actually be longer than required since you simply cut off the excess AFTER you sew the sides of the bag. However, I prefer metal zippers so I created this tutorial with the unique challenges of metal zippers in mind.
- While I say "pin" throughout this tutorial, using clover clips is often easier with the bulk of all the fabric layers.
- I buy all my zippers from Zipit on Etsy.
- If you use this tutorial and post pictures on any form of social media or blog, please give my credit by linking back to this post or tagging me @kelbysews That's just good manners. :)
- Please check out The Plaid Scottie or Pink Stitches for two great tutorials on how to make boxy bags without exposed seams (I see no need to re-do that tutorial when there are two fabulous ones out there). That method is more involved and if you are new to pouch making, you may benefit from trying this method first. Just saying! Also, Bonnie's (pinkxstitches) tutorial will explain how to add a carrying handle to your boxy bag if you want to try that!
Required:
12" metal zipper (the length of the zipper tape should be about 13.5")
Exterior fabric (home dec works best) pouch 13.5"x17" *****
Exterior fabric for tabs 4"x7"
Lining fabric 13.5"x17"
Desired interfacing: SF101, batting, fusible fleece, or duck cloth
*****If using a directional print, the top of the print should be the 13.5" side. If you want the print to look correct from both sides of the zipper (and not right on one side and upside down on the other), cut two pieces of exterior fabric 13.5"x 8.75" then sew them together with a 1/4" seam allowance so that the print is facing the right way along both 13.5" sides. I know this can be confusing. I'll try an post a picture of what I mean soon!
A Word About Interfacing:
I highly suggest you play around with various types of interfacing/fabric combinations to see what you like best. Interfacing will determine the shape and weight of your bag so it's very important! The two most common ways I interface are with two layers of Pellon SF 101 (shape flex) on my exterior, or with batting and a quilted exterior. These are not the only methods! If this is your first time making a pouch and/or you have no experience with interfacing, try two layers of Pellon SF101, it's simple and will give your bag some shape without adding bulk. The thing to keep in mind about adding batting or fleece is that it will add bulk around your zipper. This is really only a concern for newbies. I don't want to make your life harder so I simply suggest you try the easiest way first before you graduate to methods that could potentially cause you more trouble. As for duck cloth, I have had success using duck cloth in between my exterior and lining fabrics to give a lot more heft to quilting cottons. Duck cloth can be trickier to use since it add a third, shiftable layer to the pouch. Not impossible to work with, but newbies, please beware. Also, depending on the exterior fabric you use, you may not even need interfacing. I've made pouches using a heavy gold vinyl (see pictures below) and I do not use ANY interfacing with those! So always be aware of your starting materials. Heavier weight fabrics will not require the same level of interfacing as quilting cottons and some fabrics cannot be ironed. Know your fabric! Know your interfacing! Don't be afraid to experiment!

After you cut your fabrics, interface them as desired. The pouch pictured has two layers of Pellon SF 101 on the exterior (green) fabric.

Fold the 4"x7" piece in half lengthwise and press
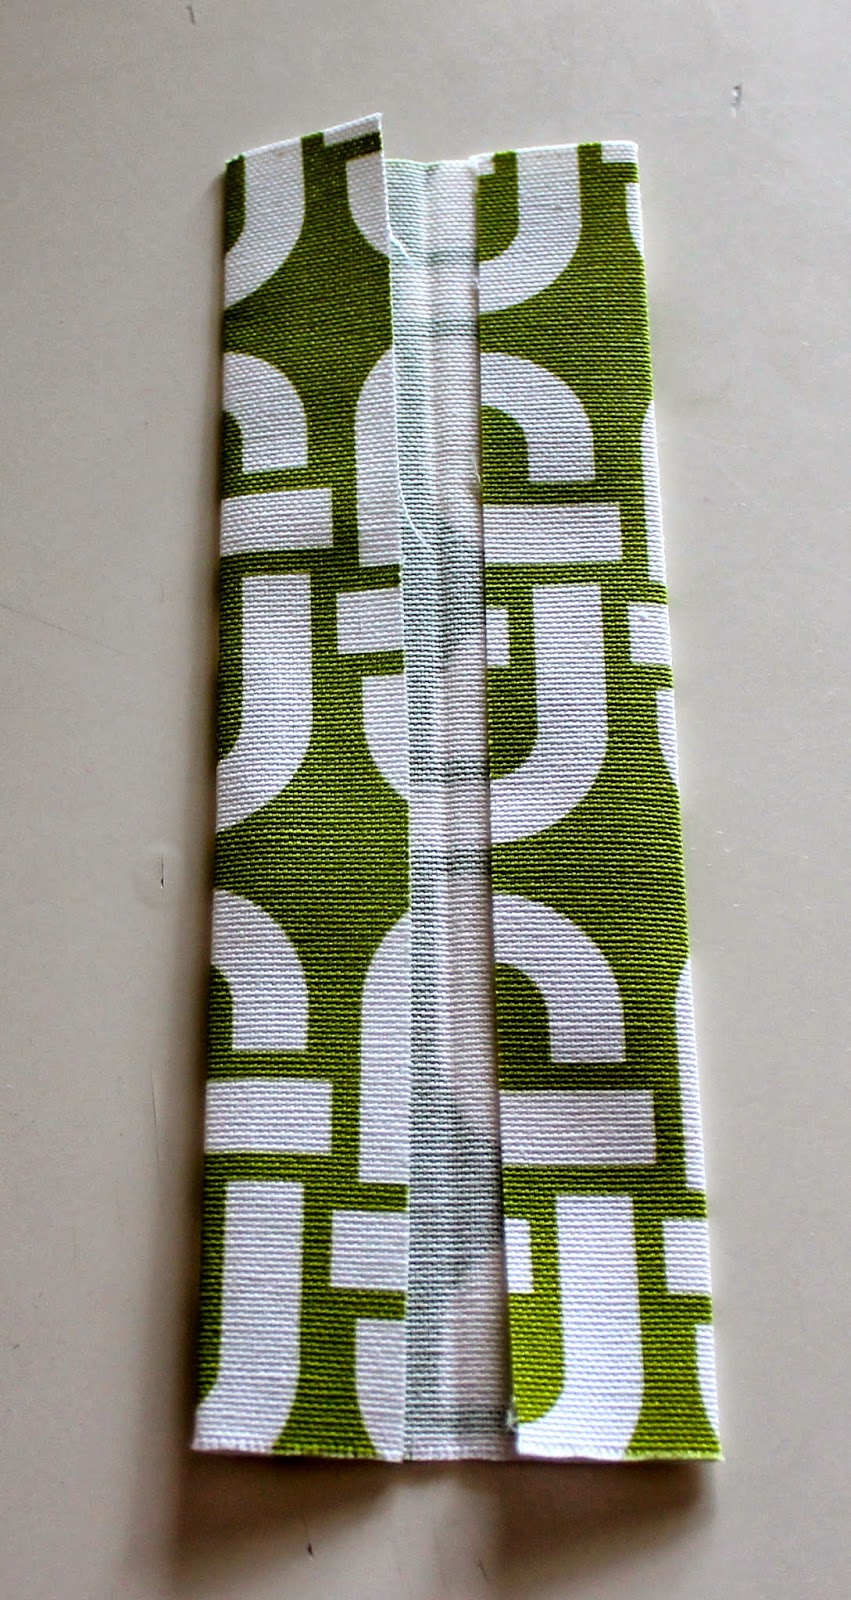
Open it up and fold the ends in toward the center crease. I do not fold them all the way to the middle. This is just a personal preference.

Refold along the center crease to give you an approximately 1"x7" piece. Topstitch along either side.

Cut in half to get two 1"x3.5" pieces. These will be your tab pulls. These are very helpful for this type of pouch when you try to open and close it. Trust me, I've made some without them and I often struggle to get them open!

Now it's time to make a zipper sandwich. This is how I attach zippers, but it's not the only way. Guess what though? You're on my blog so we're doing it my way. :) Place your lining fabric right side up. Place your zipper right side up--this means that you should be able to see the zipper pull! Don't mess this part up! Make SURE you can see the zipper pull!

Place the exterior fabric right side DOWN.

Pin along the top edge.

Using your
zipper foot attachment, sew the layers together using a ¼” seam
allowance.

DO NOT SEW the area where the zipper pull is. Stop before you get to the pull.

Then pull the zipper pull down past the area you have already sewn and resume sewing your zipper sandwich where you left off. This makes it easier and yields cleaner, more even results along your zipper. Depending on which way you oriented your zipper when making the first zipper sandwich, your zipper pull may be on top first. If that is the case, just start a bit below the zipper pull with your 1/4" seam and go to the end of the zipper. Once you're done, unzip it and start back at the beginning. I do no back stitch when I do this, I simply so back over some of my stitches when I restart my stitching. If you feel more comfortable backstitching when you pause during the zipper attachment, go for it!

Assuming your fabric can be ironed, press both the exterior and lining fabric away from the zipper. This is important! We will be top stitching next and you don't want to get your fabric bunched up near the zipper where it can get caught. Press all fabric away from the zipper!!! Be careful! Metal zippers get really hot under an iron (ask me how I know!)

Top stitch about 1/8" away from the edge of the exterior fabric. This gives your pouch a more finished look and holds all the layers together so nothing gets caught in your zipper.

I love top stitching!

Now repeat the previous steps to attach the zipper to the other size of the lining and exterior.

Layer the lining right side up, the zipper right side up and the exterior fabric right side down.

Here's another view of what your sandwich should look like the second time around.

Pin in place.

See how I started sewing below where the zipper pull was this time? I then go back, unzip the zipper and sew over the beginning bit I skipped. This really is the best tip I can give you with metal zippers! You want your seam allowance to be consistent when attaching the layers to the zipper tape and that can get tricky with metal zippers. You've been warned!

Again, press your exterior and lining fabric away from the zipper.

Top stitching the second side can be challenging. Go slow and gently fold the rest of your pouch back and out of your way to your needle can make it all the way to the end.

See how I've folded the pouch over during the top stitching process?

Turn your pouch wrong (lining) side out and then flatten the pouch so that the zipper is centered on top and the exterior sides are facing. I don't give exact measurements here because it can very depending on the type of fabric and interfacing you use. Feel free to get out your ruler and make sure the zipper is centered. I typically eye ball it. If you have a directional print and have cut two exterior pieces, you have a natural guide line as to the center with the seam in your exterior. Line up the seam with the zipper and you're golden!
UNZIP YOUR ZIPPER!!!
UNZIP YOUR ZIPPER!!!
UNZIP YOUR ZIPPER!!!
UNZIP YOUR ZIPPER!!!

Fold your
1”x3.5” tabs in half and insert them in between the exterior sides, centered at
each side of the zipper. If you don't accurately center the tab, you're going to notice it when the pouch is done (ask me how I know). Learn from my mistakes people! Take your time and center the tab!

The raw edges of the tabs should be lined up with the raw edges of the flattened pouch.

Pin the raw edges. Repeat for the other side of the pouch.

Using a 5/8" seam allowance, sew along the sides of the flattened pouch. NEVER SEW OVER THE METAL ZIPPER!!!!!!!

If you've followed all the previous instructions, your needle should pass near, but not over the actual zipper. You should only be sewing through the zipper tape.

Using a rotary cutter and ruler, trim the seam allowance on the sides down to 1/4"

Measuring 1.75" from the STITCH LINE. Let me repeat that, from the STITCH LINE, not the edge of the pouch. Draw and cut a 1.75" square from each corner of the pouch. The piece should actually measure 1.75"x2" since one side will have the 1/4 seam allowance.
Please read and re-read this instruction carefully. If you fail to do this step correctly, your corners will not box neatly.


Use good scissors or a small rotary cutter here to keep the cutting lines clean and your work neater.


Using a thread that coordinates with your lining, sew a tight zig zag (serge) over the exposed side seams to tidy them up and keep them from fraying. I usually go over them twice with a stitch length of .7 and a width of 6. I have a Babylock Symphony and not all settings are the same so know your machine! You do NOT want to try and satin stitch over this. It is pretty thick around the zipper tabs and that tight stitch is difficult for most machines. Better to do a slightly looser zig zag and go over it twice. Then trim any small loose threads that remain. Take your time with this step to keep your work clean. Matching the thread you use in this step with your lining will keep the exposed seams from being as noticeable when your pouch is done.


Box all four corners by opening each corner, centering the side seam, flattening the zig-zagged side seam AWAY FROM THE ZIPPER (toward the bottom of the bag), and forming a straight line. Pin in place.

Using a 1/4" seam allowance, sew each of the four boxed corners closed.

Using the same method described above, zigzag all four corners and trim excess threads.


Flip the bag right side out through the opening left in the zipper.

Yay! You're done! Below are some more examples of finished pouches!


Tips for other sizes:
- For 14" zippers, I cut my fabric 15.5"x18" and use the same measurements for boxing the corners as I did with my 12" zipper.
- For 9" zippers, I cut my fabric 10.5"x15" and boxy my corners at 1.25" to 1.5"
- I always cut my fabric width the length of the zipper TAPE not the length of the zipper. so my 12" zippers have a 13.5" tape, the 14" zippers have a 15.5" tape, and the 9" zippers have a 10.5" tape. So can you see how I get the first measurement for my fabric? Easy peasy! The second measurement you can vary to get a different look.
- Feel free to experiment with different size zippers, different length fabrics, and different size boxed corners to make your pouch uniquely you!!!!